Adding Your First Item
In this tutorial, we'll add a Login item to your PearPass vault. By the end, you'll have your first item saved and ready to use.
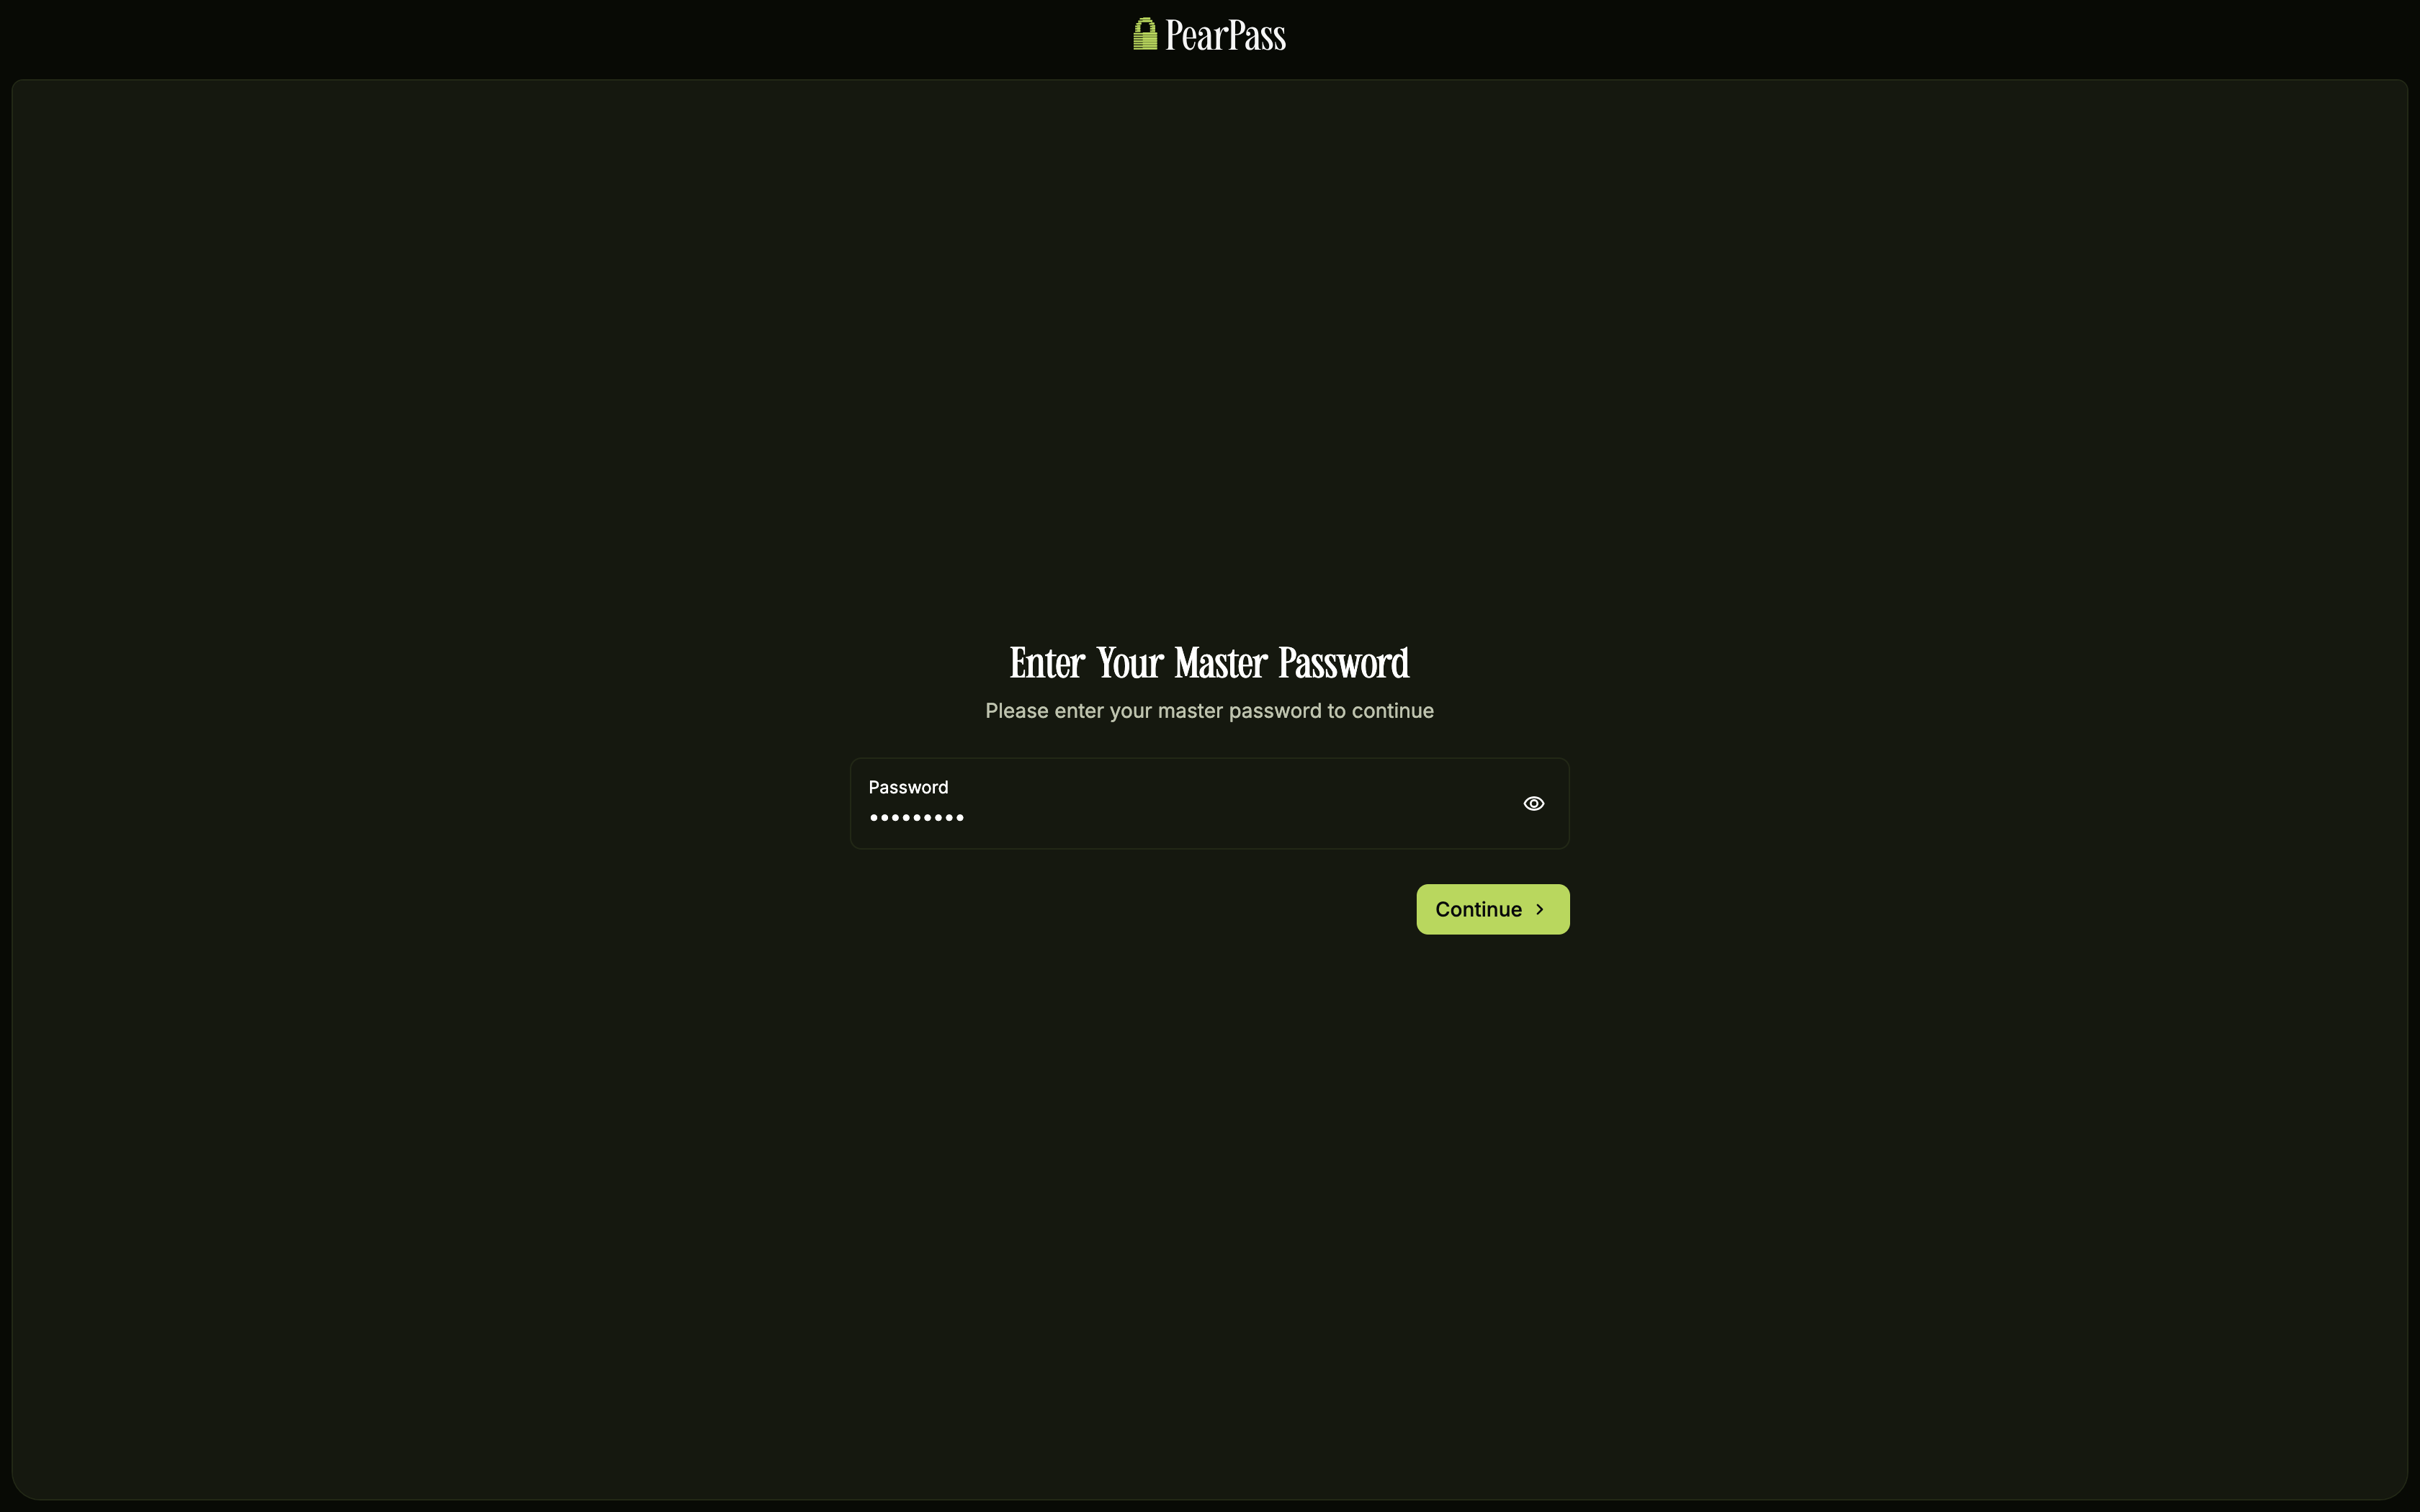
Sign in
Open PearPass on your computer and sign in with your master password. You should see your vault screen.
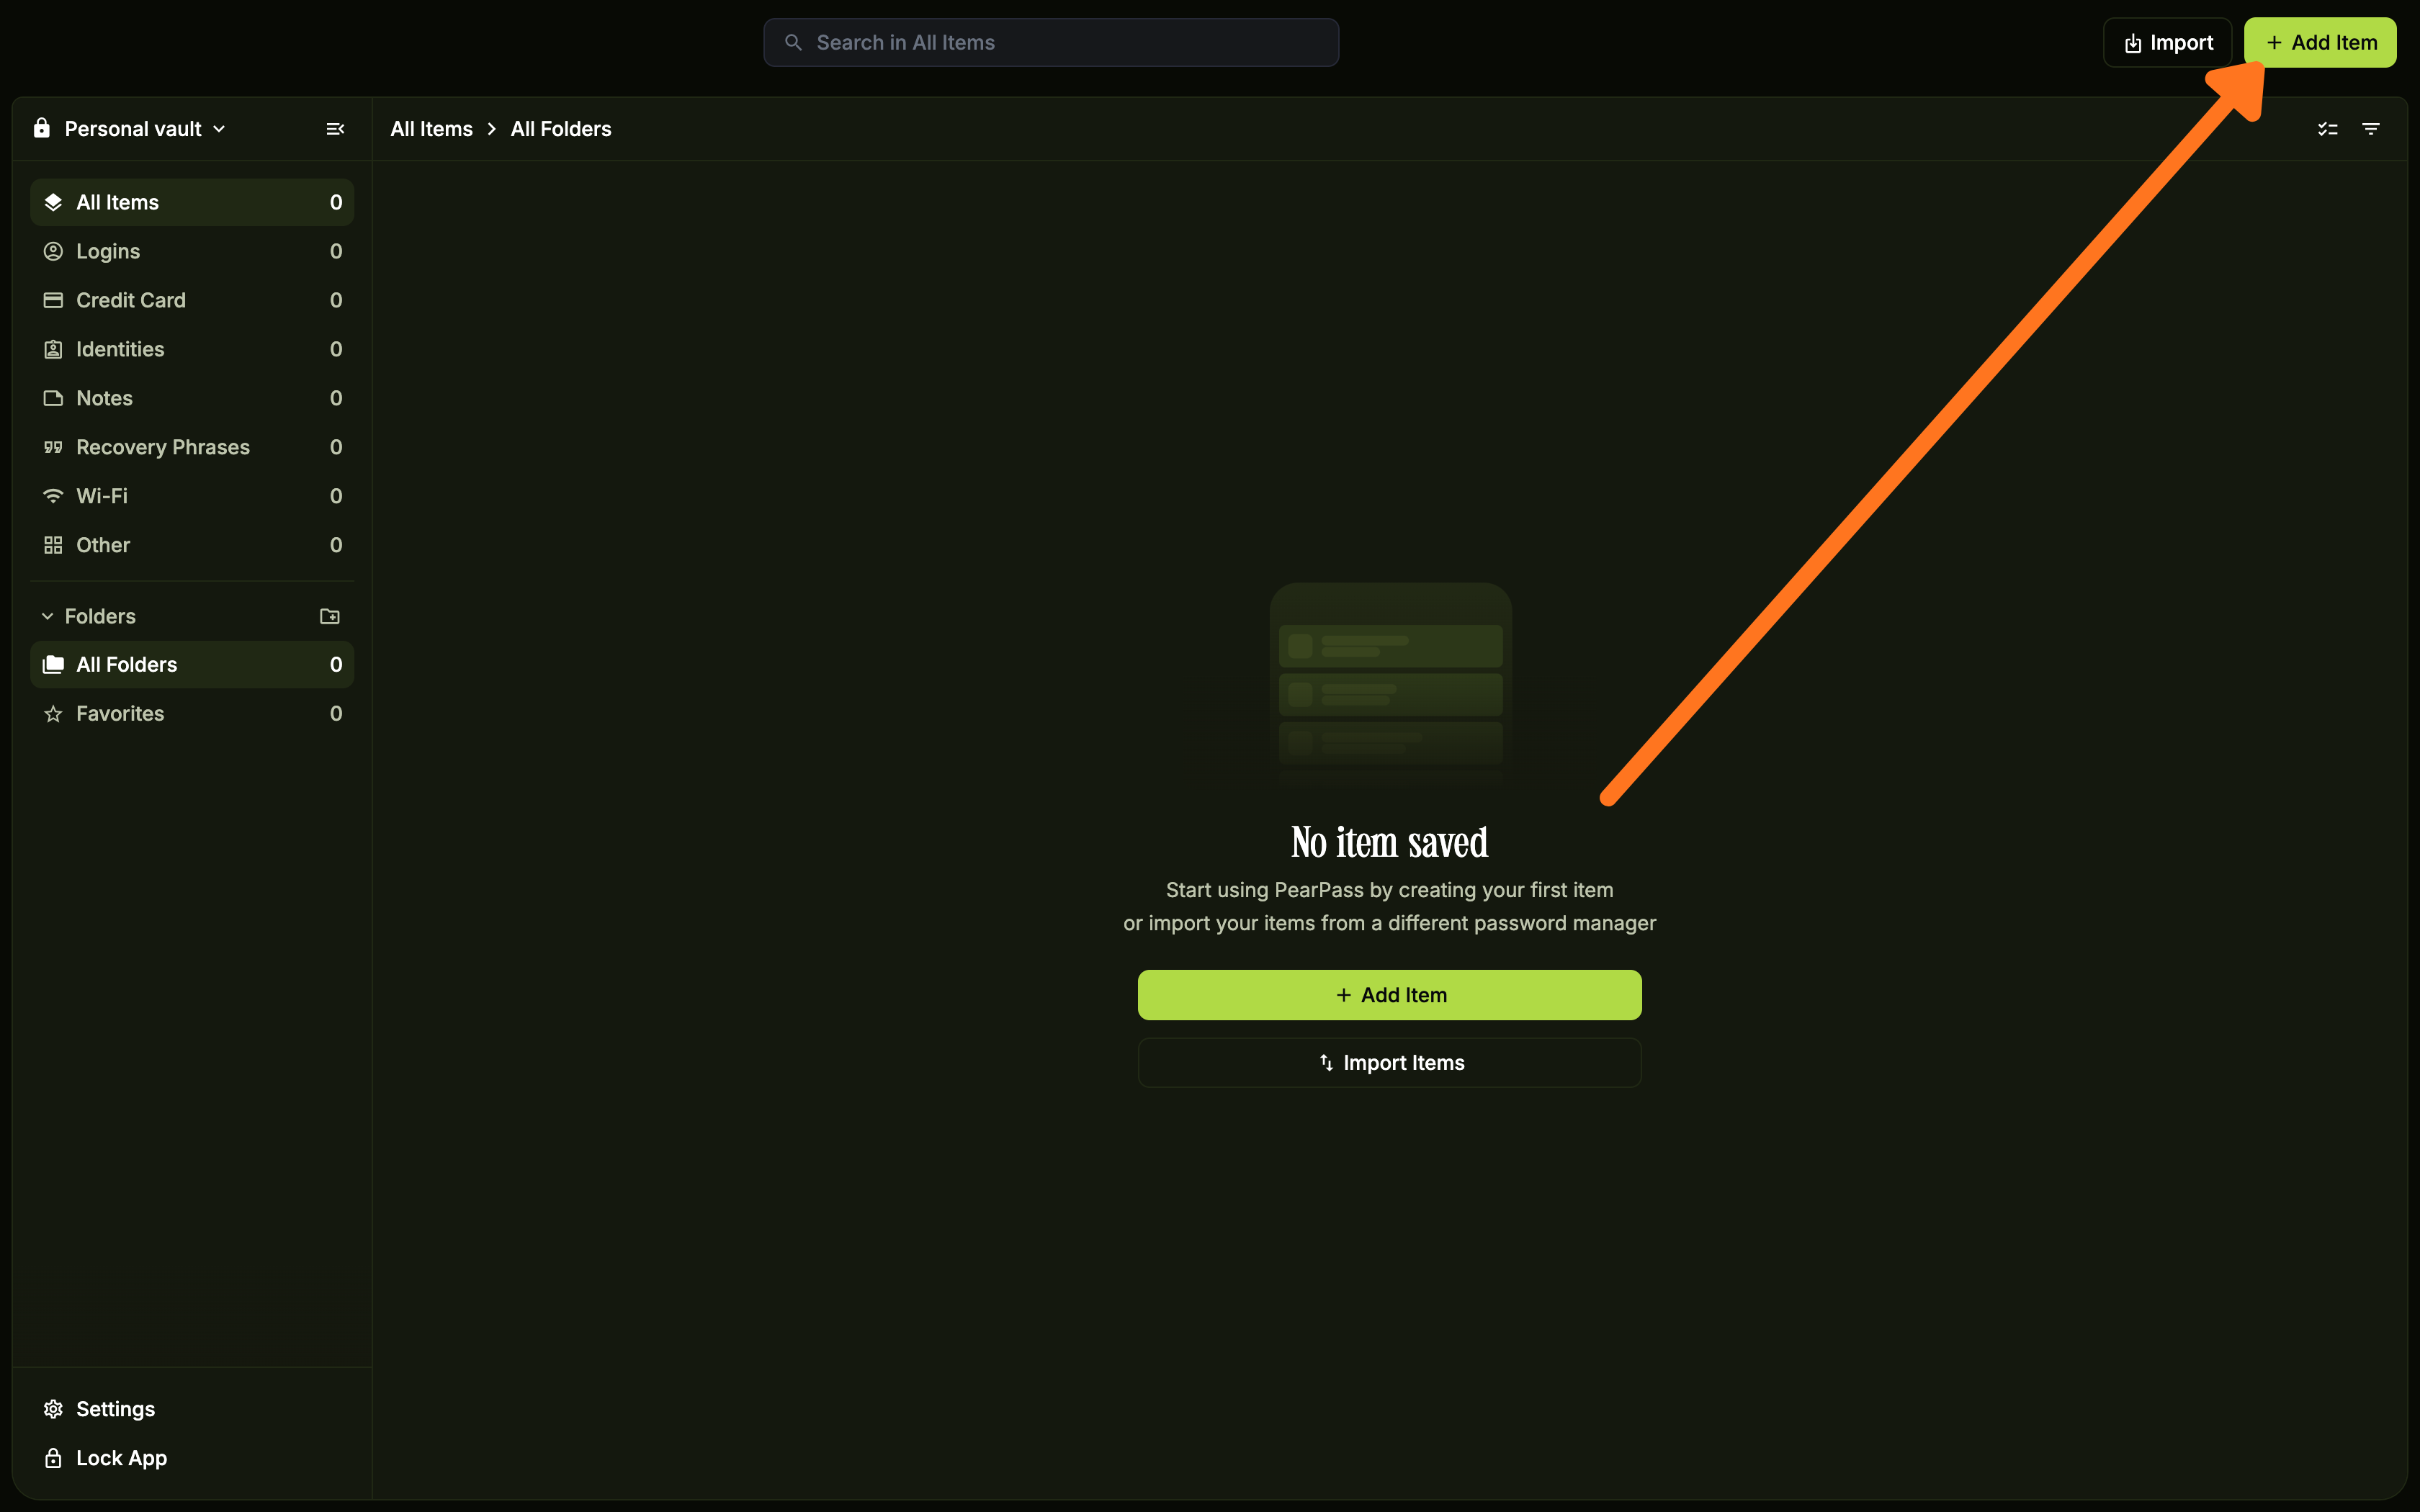
Add a new item
Click the + icon in the top right corner. If your vault is empty, click the Add Item button in the item list area instead. Notice that a dialog appears listing all item types.
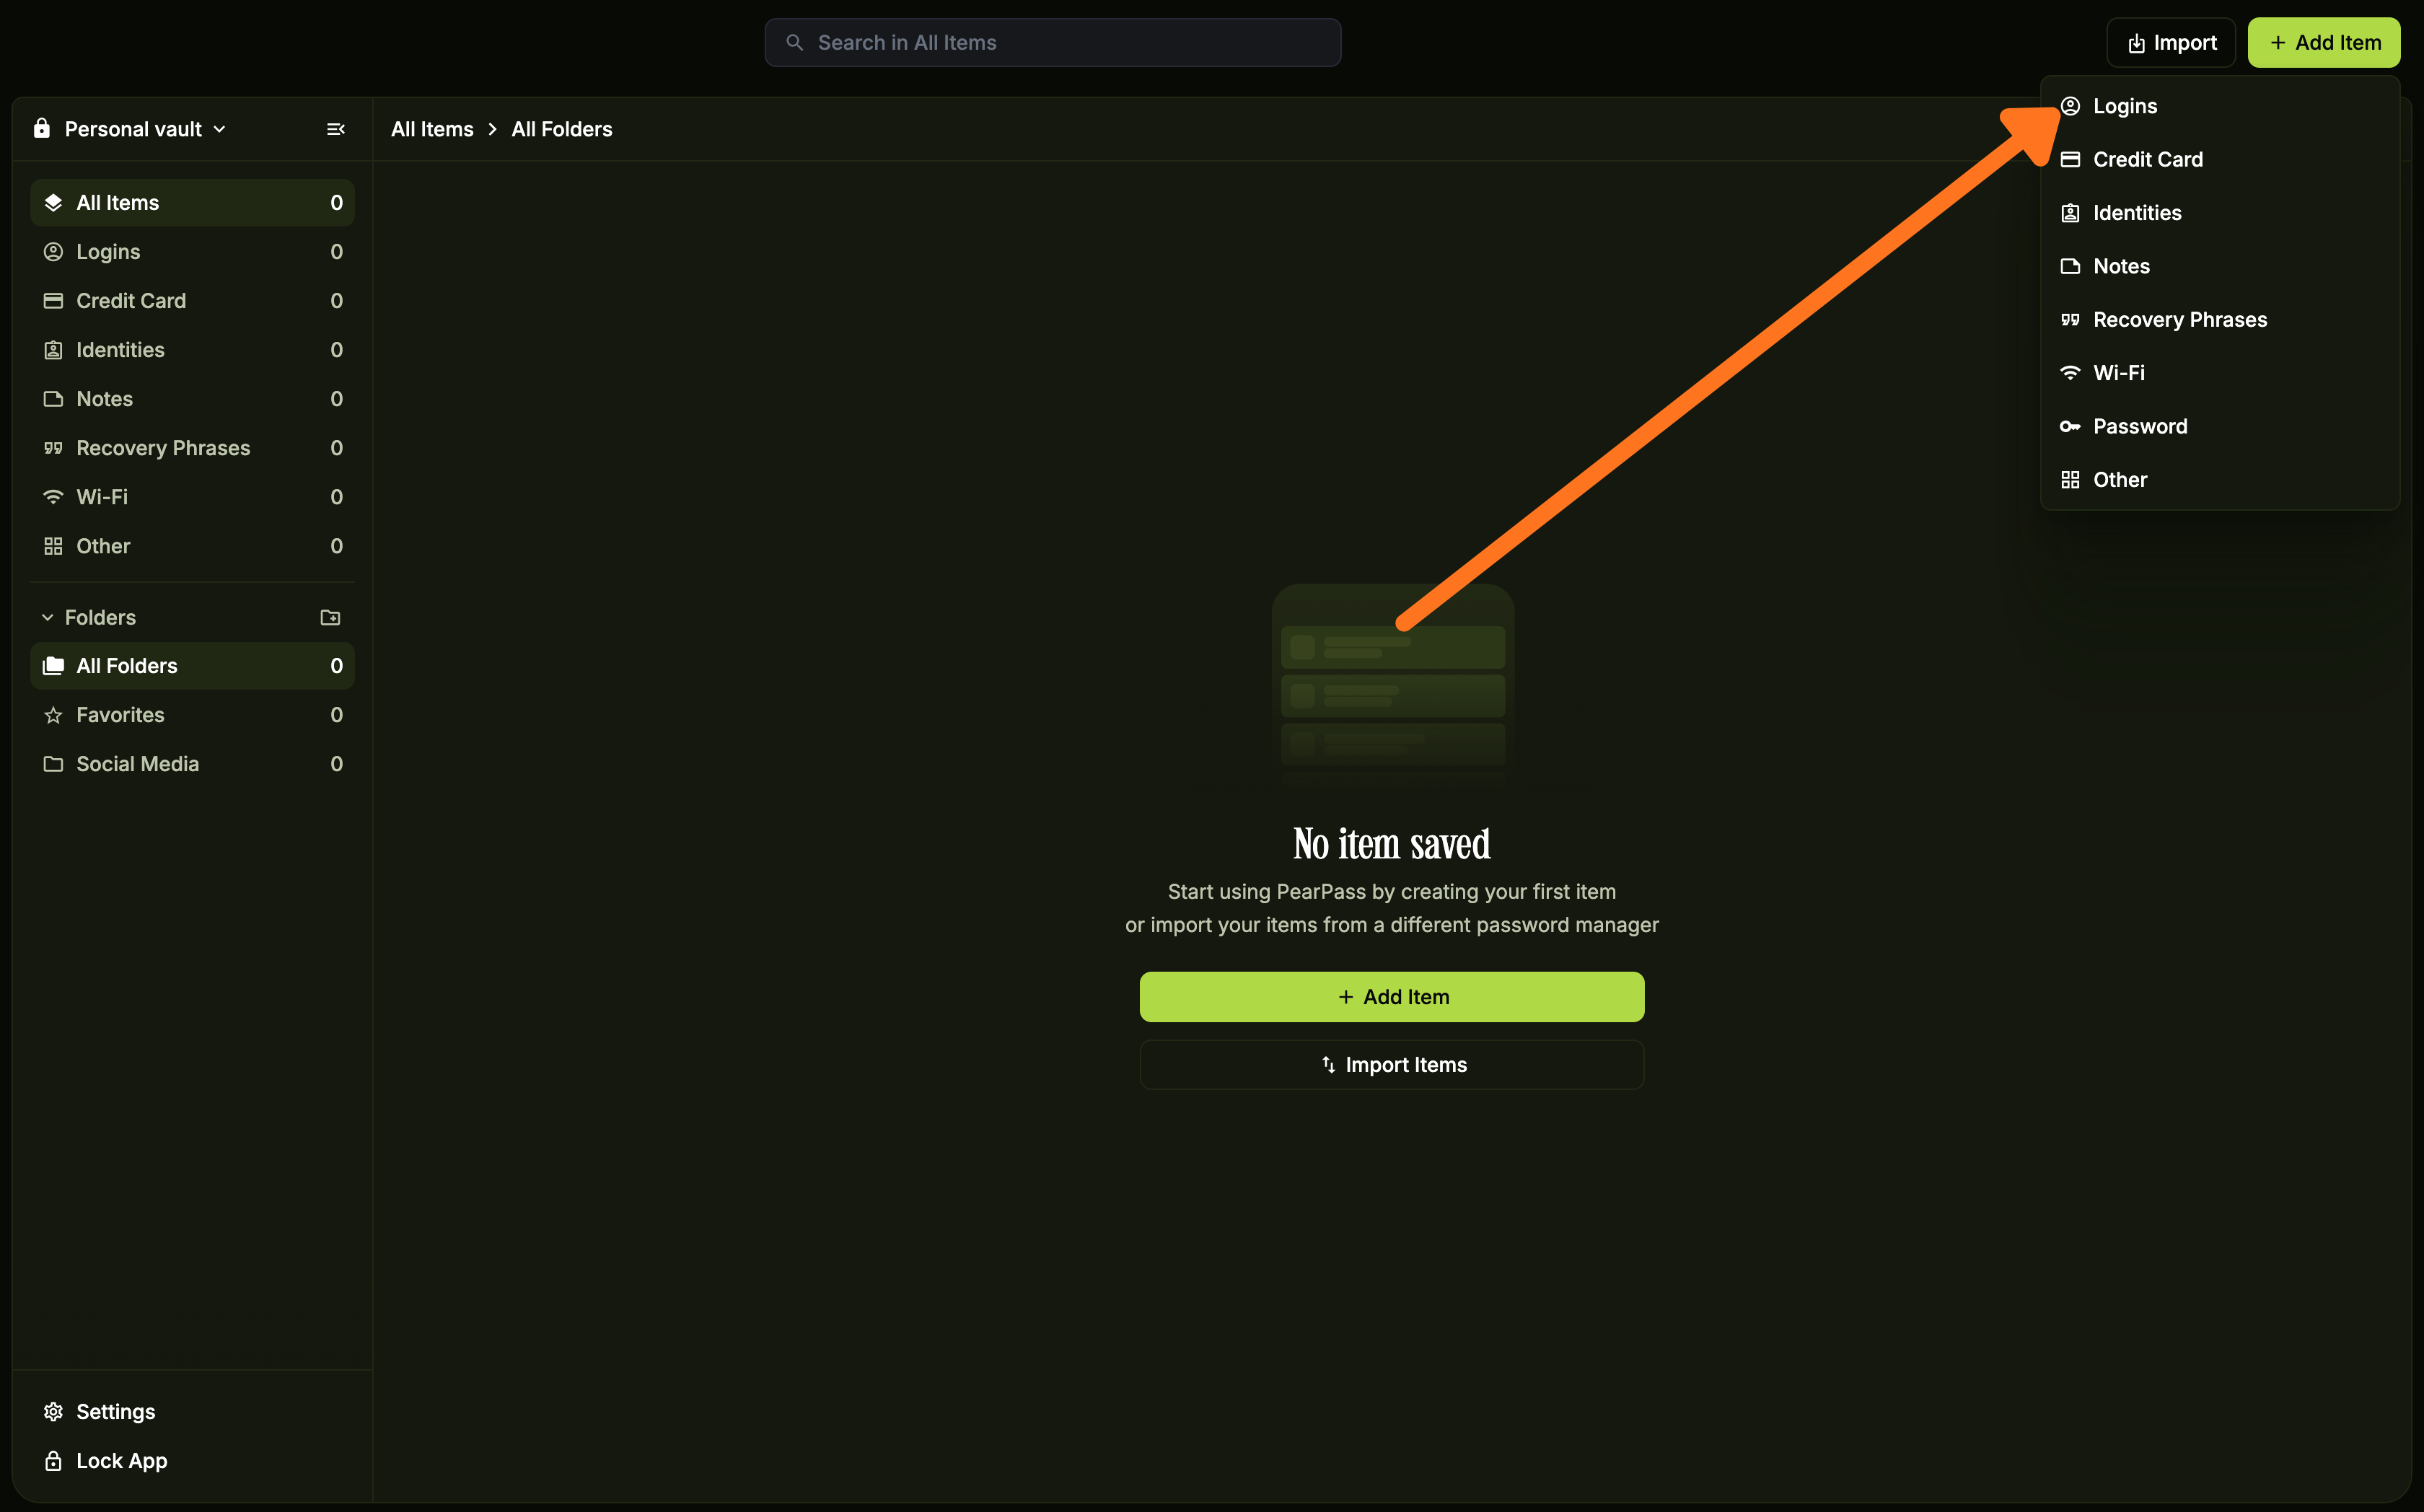
Select the item type
Select the item type you want to add. For this tutorial, we'll select Login. Notice the form updates to show fields specific to the item type you selected.
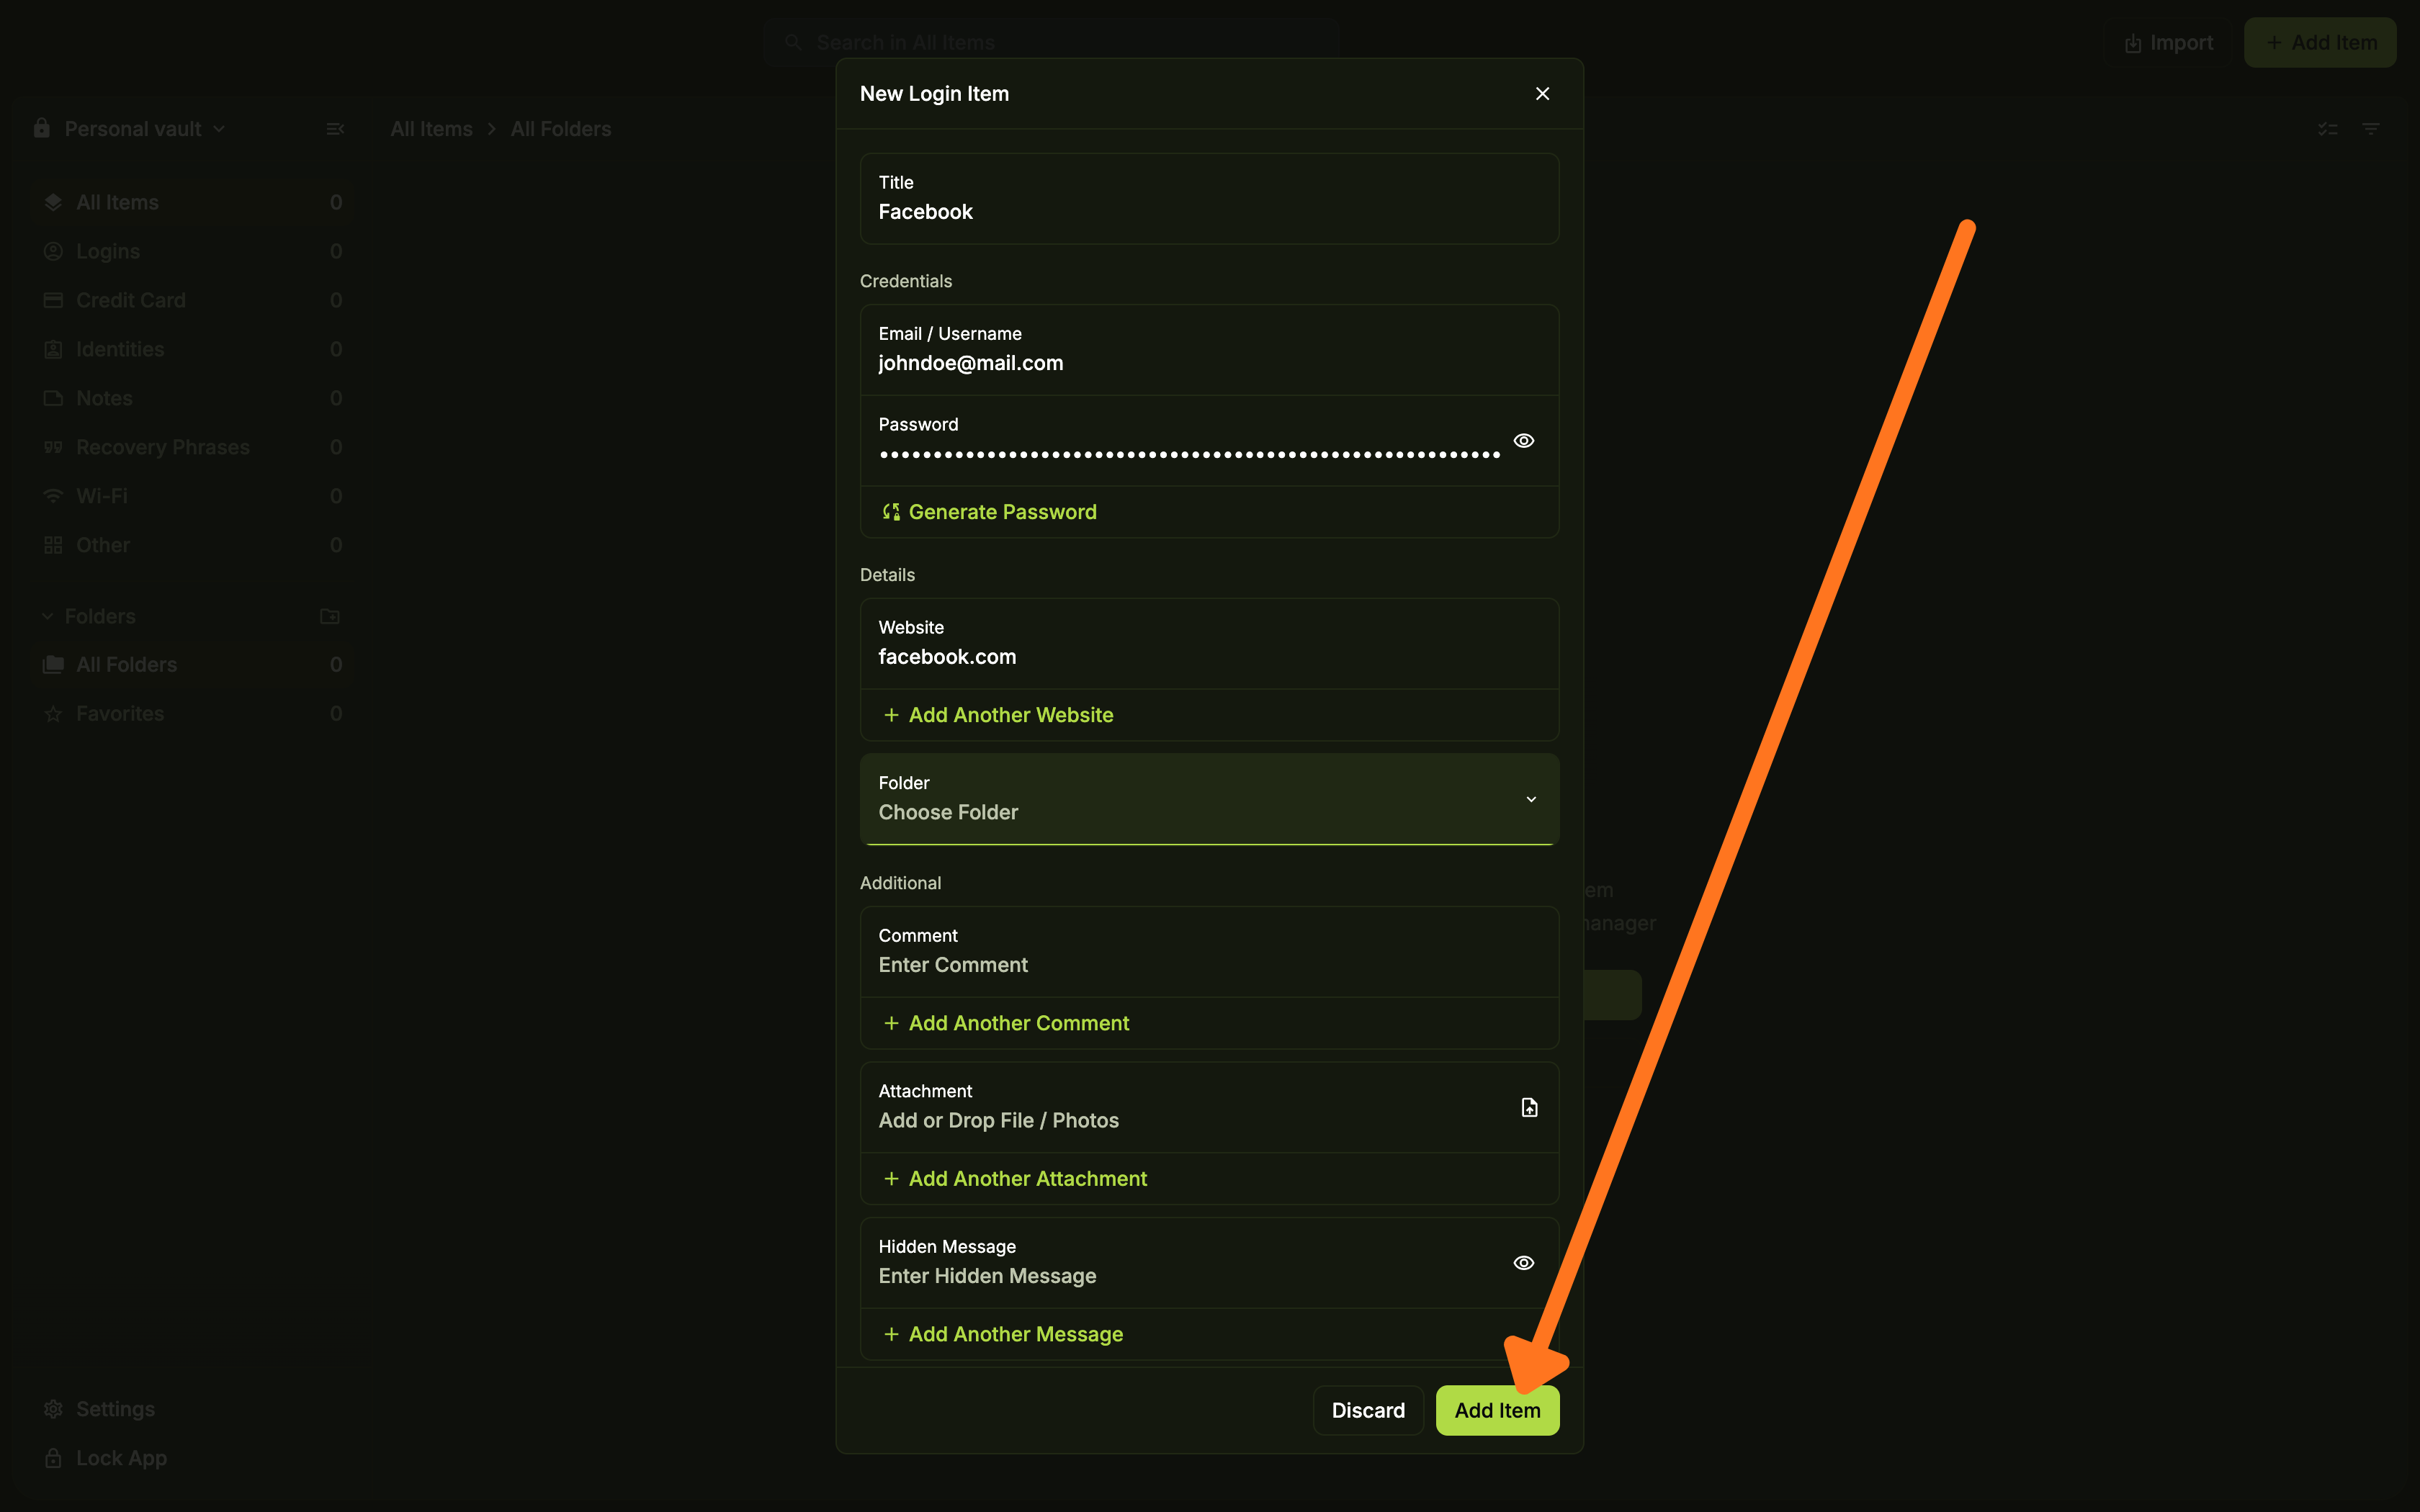
Enter the item details
Fill in the required details for the item type you selected.
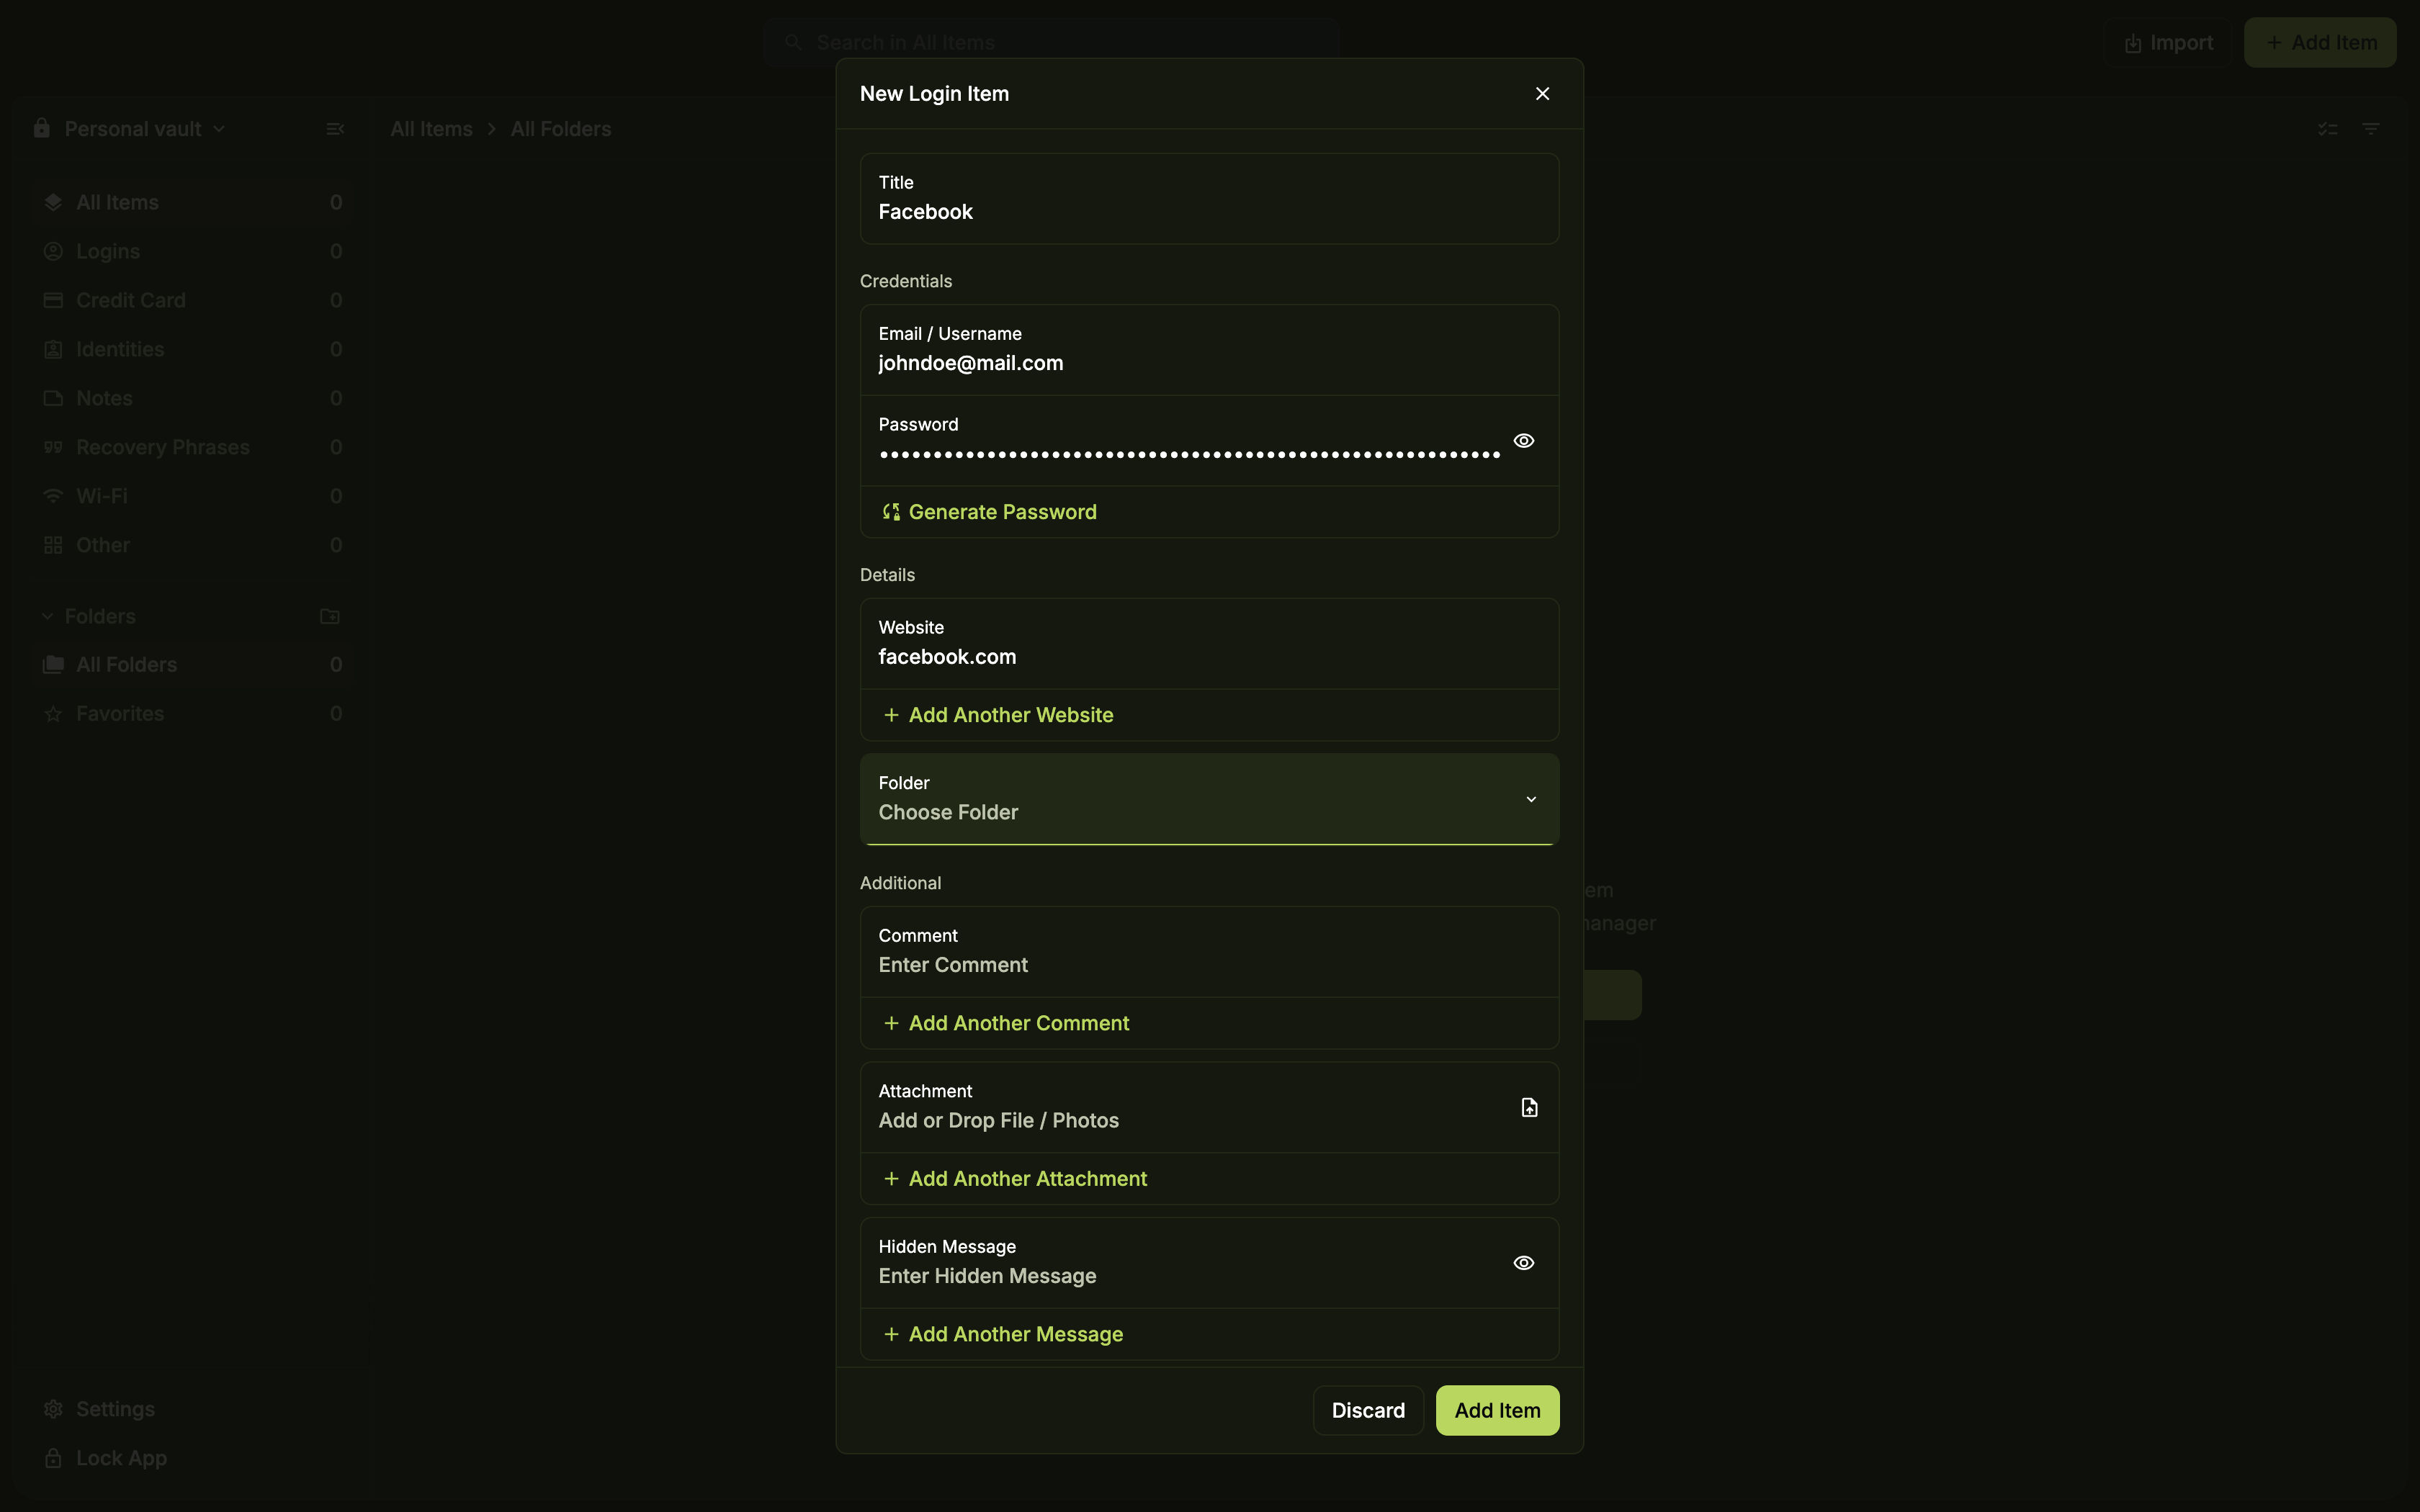
Review and add your item
Review the item details, then click Add Item. Notice that your new Login item now appears in your vault.
View your saved item
Click the item in your vault to view and manage it.

You've added your first item to PearPass. Your vault now stores a Login item, ready to use whenever you need it.
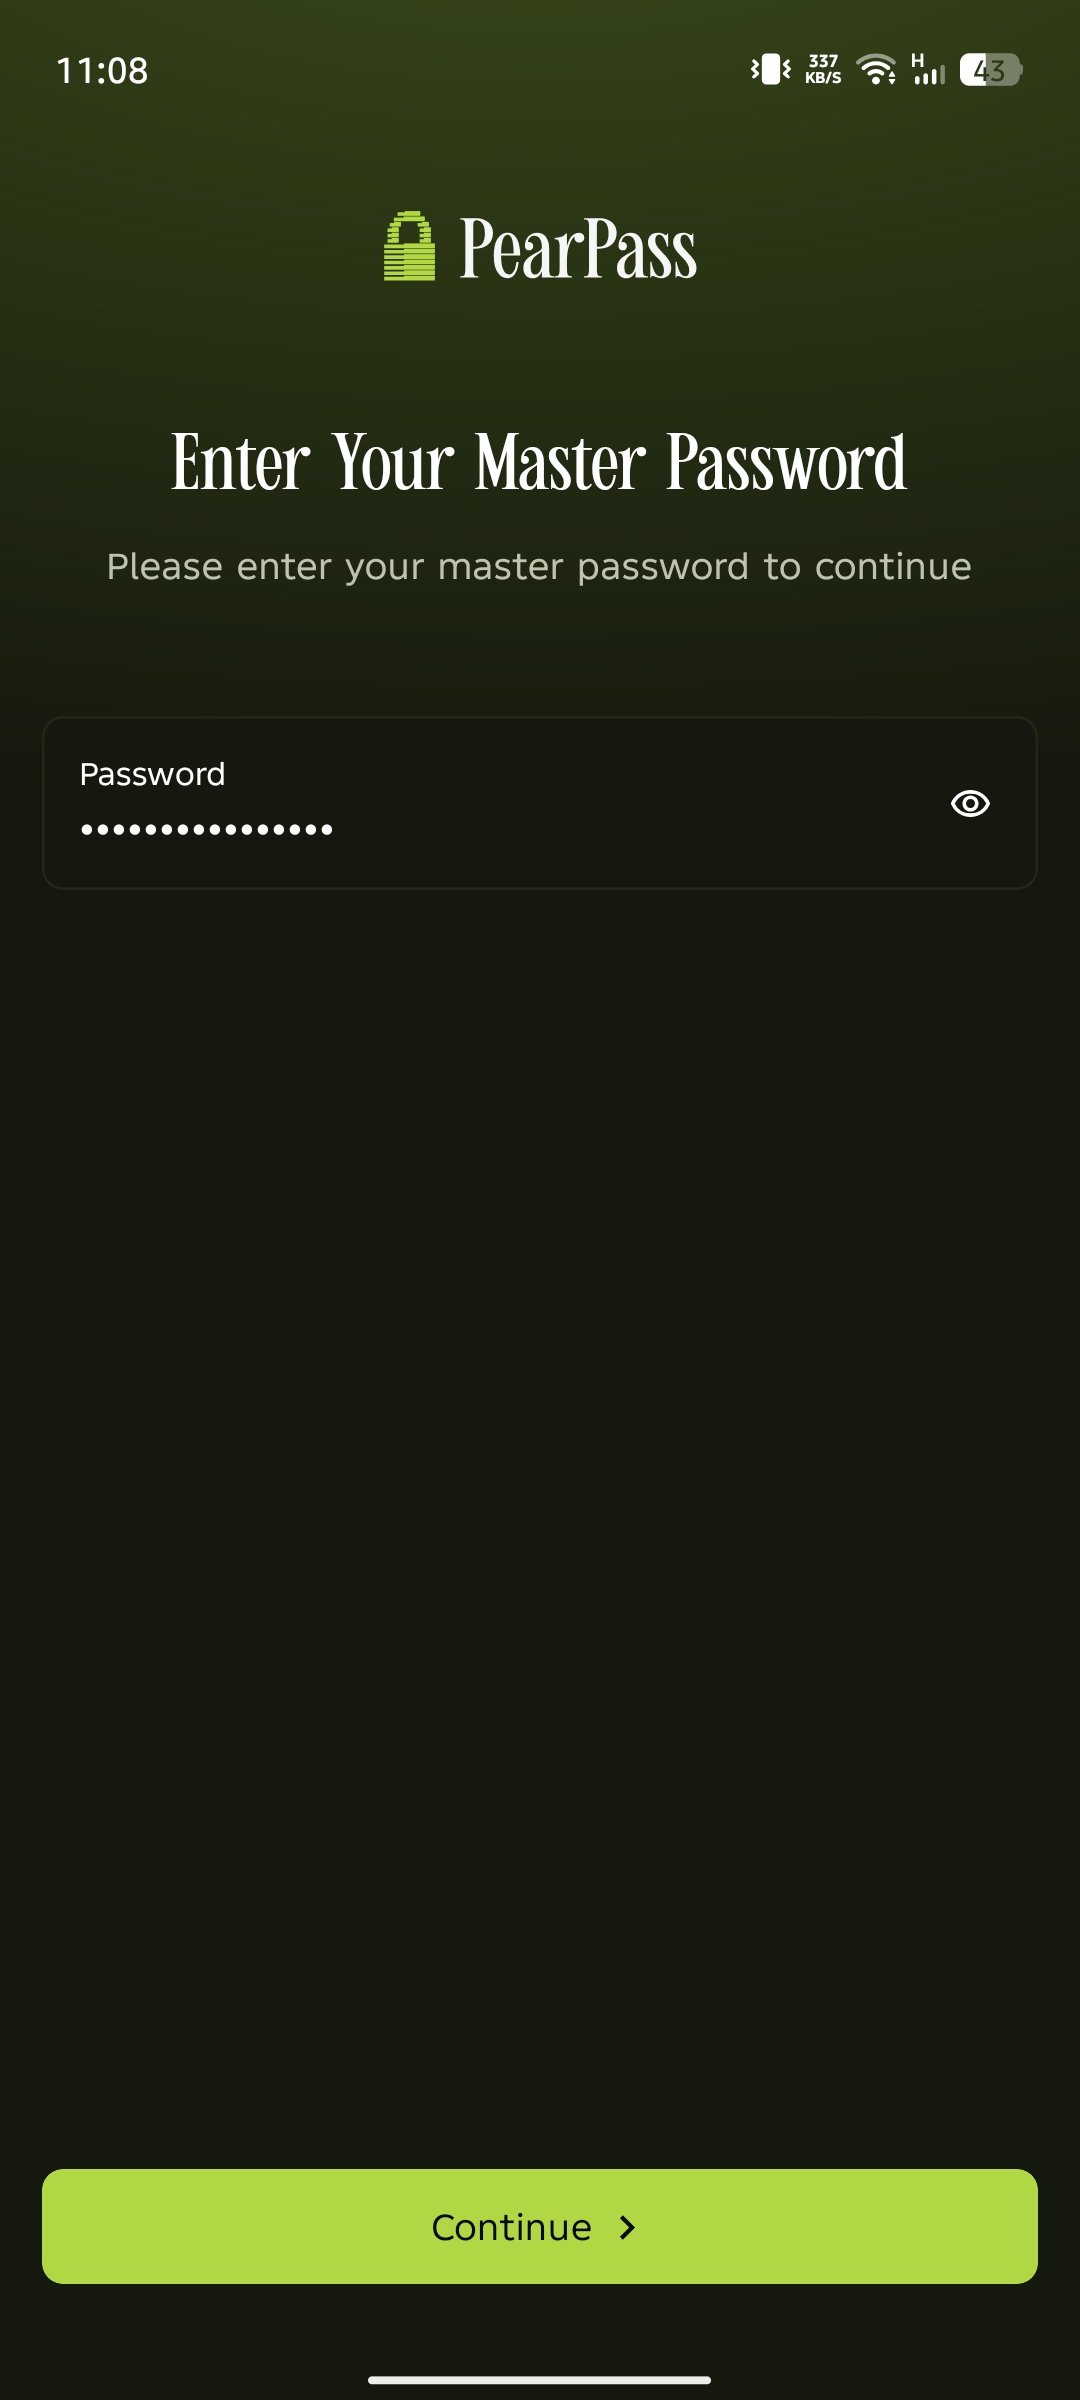
Sign in
Open PearPass on your mobile device and sign in with your master password. You should see your vault screen.
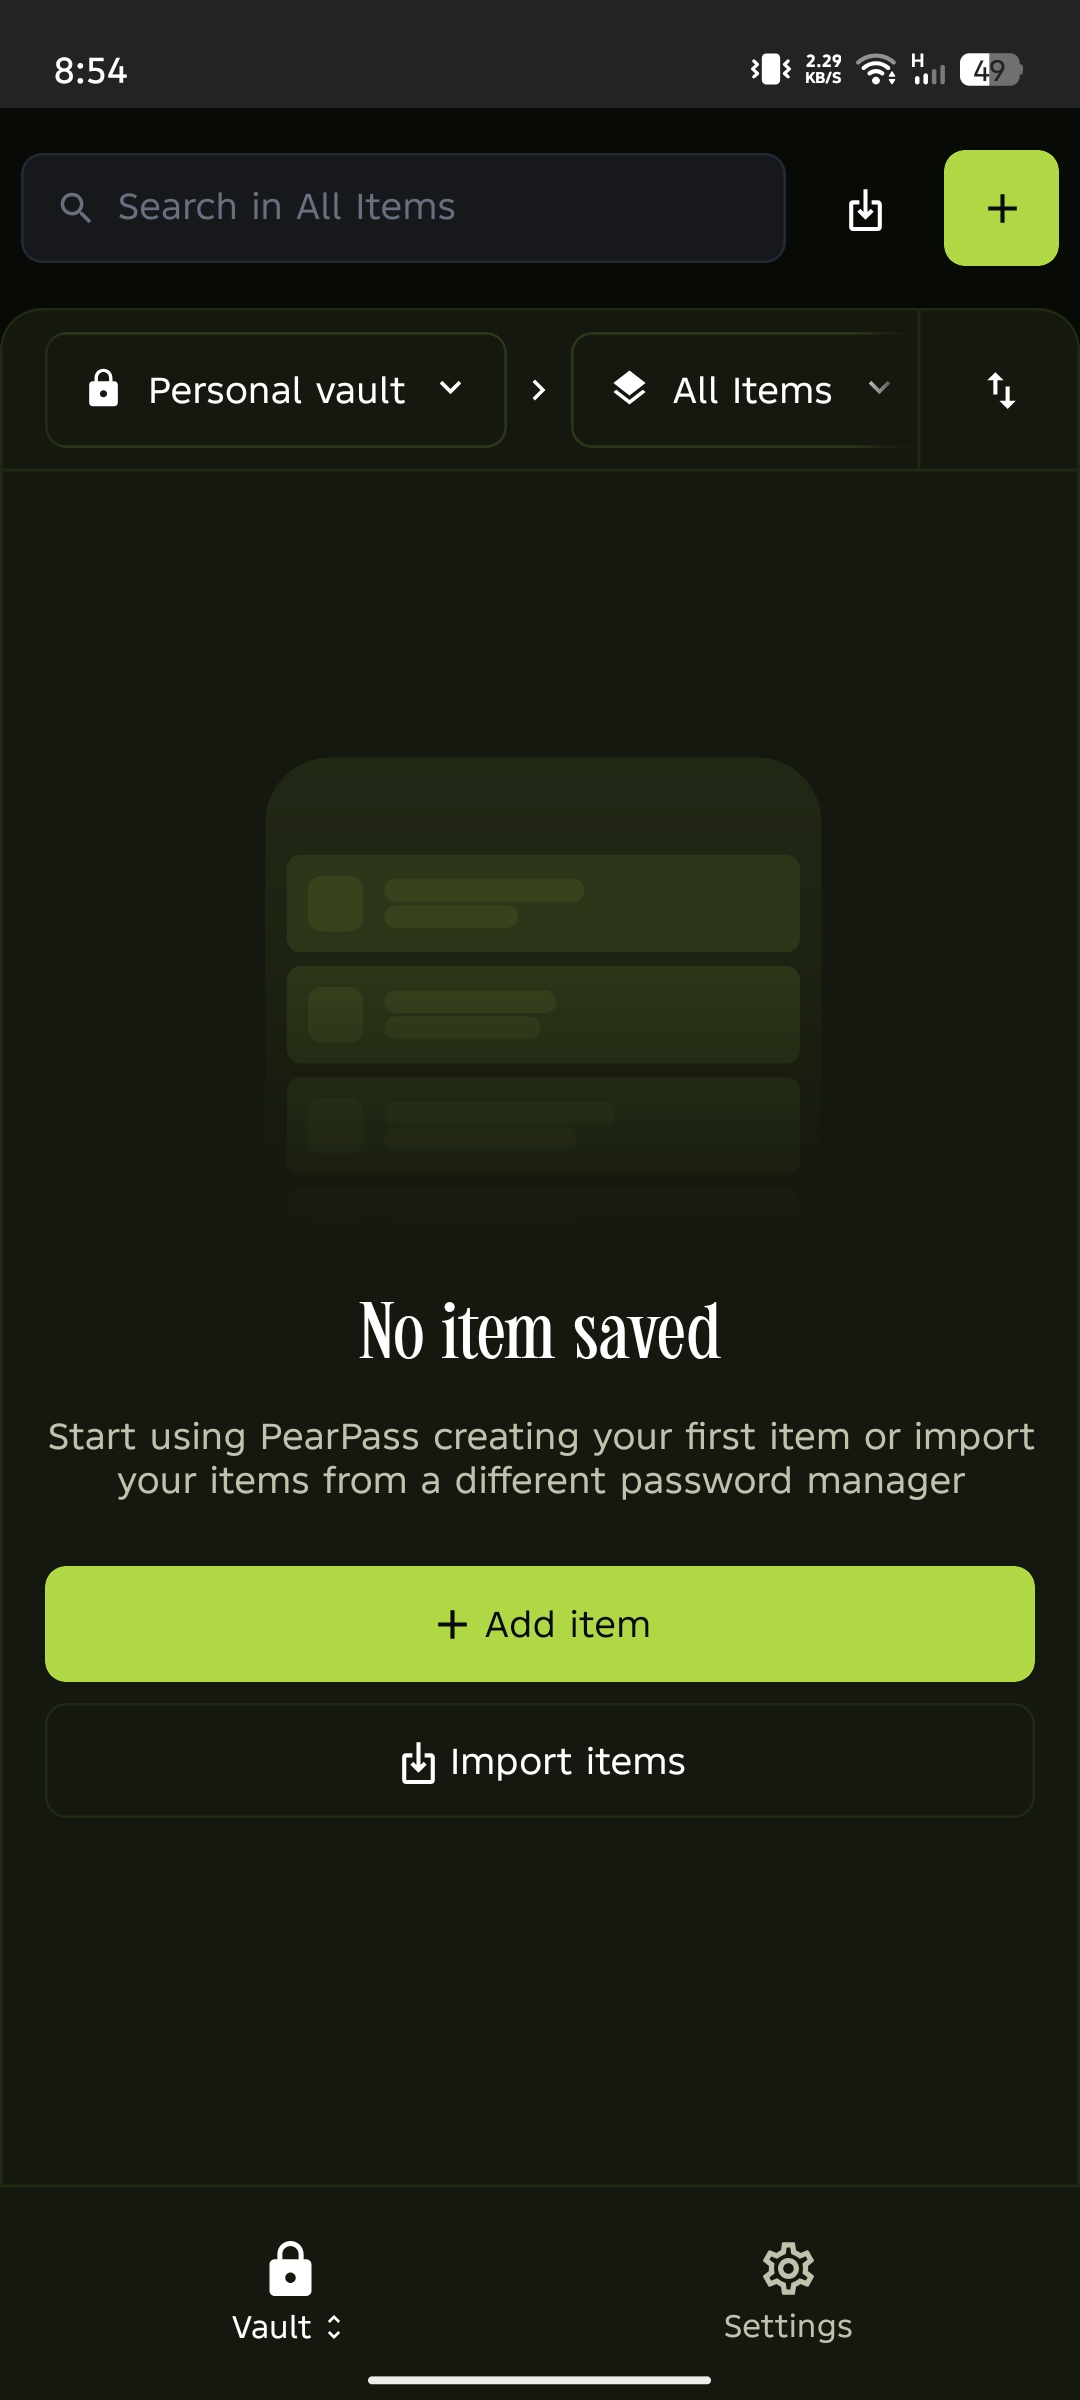
Add a new item
Tap the + icon in the top right corner. If your vault is empty, tap the Add Item button in the item list area instead. Notice that a dialog appears listing all item types.
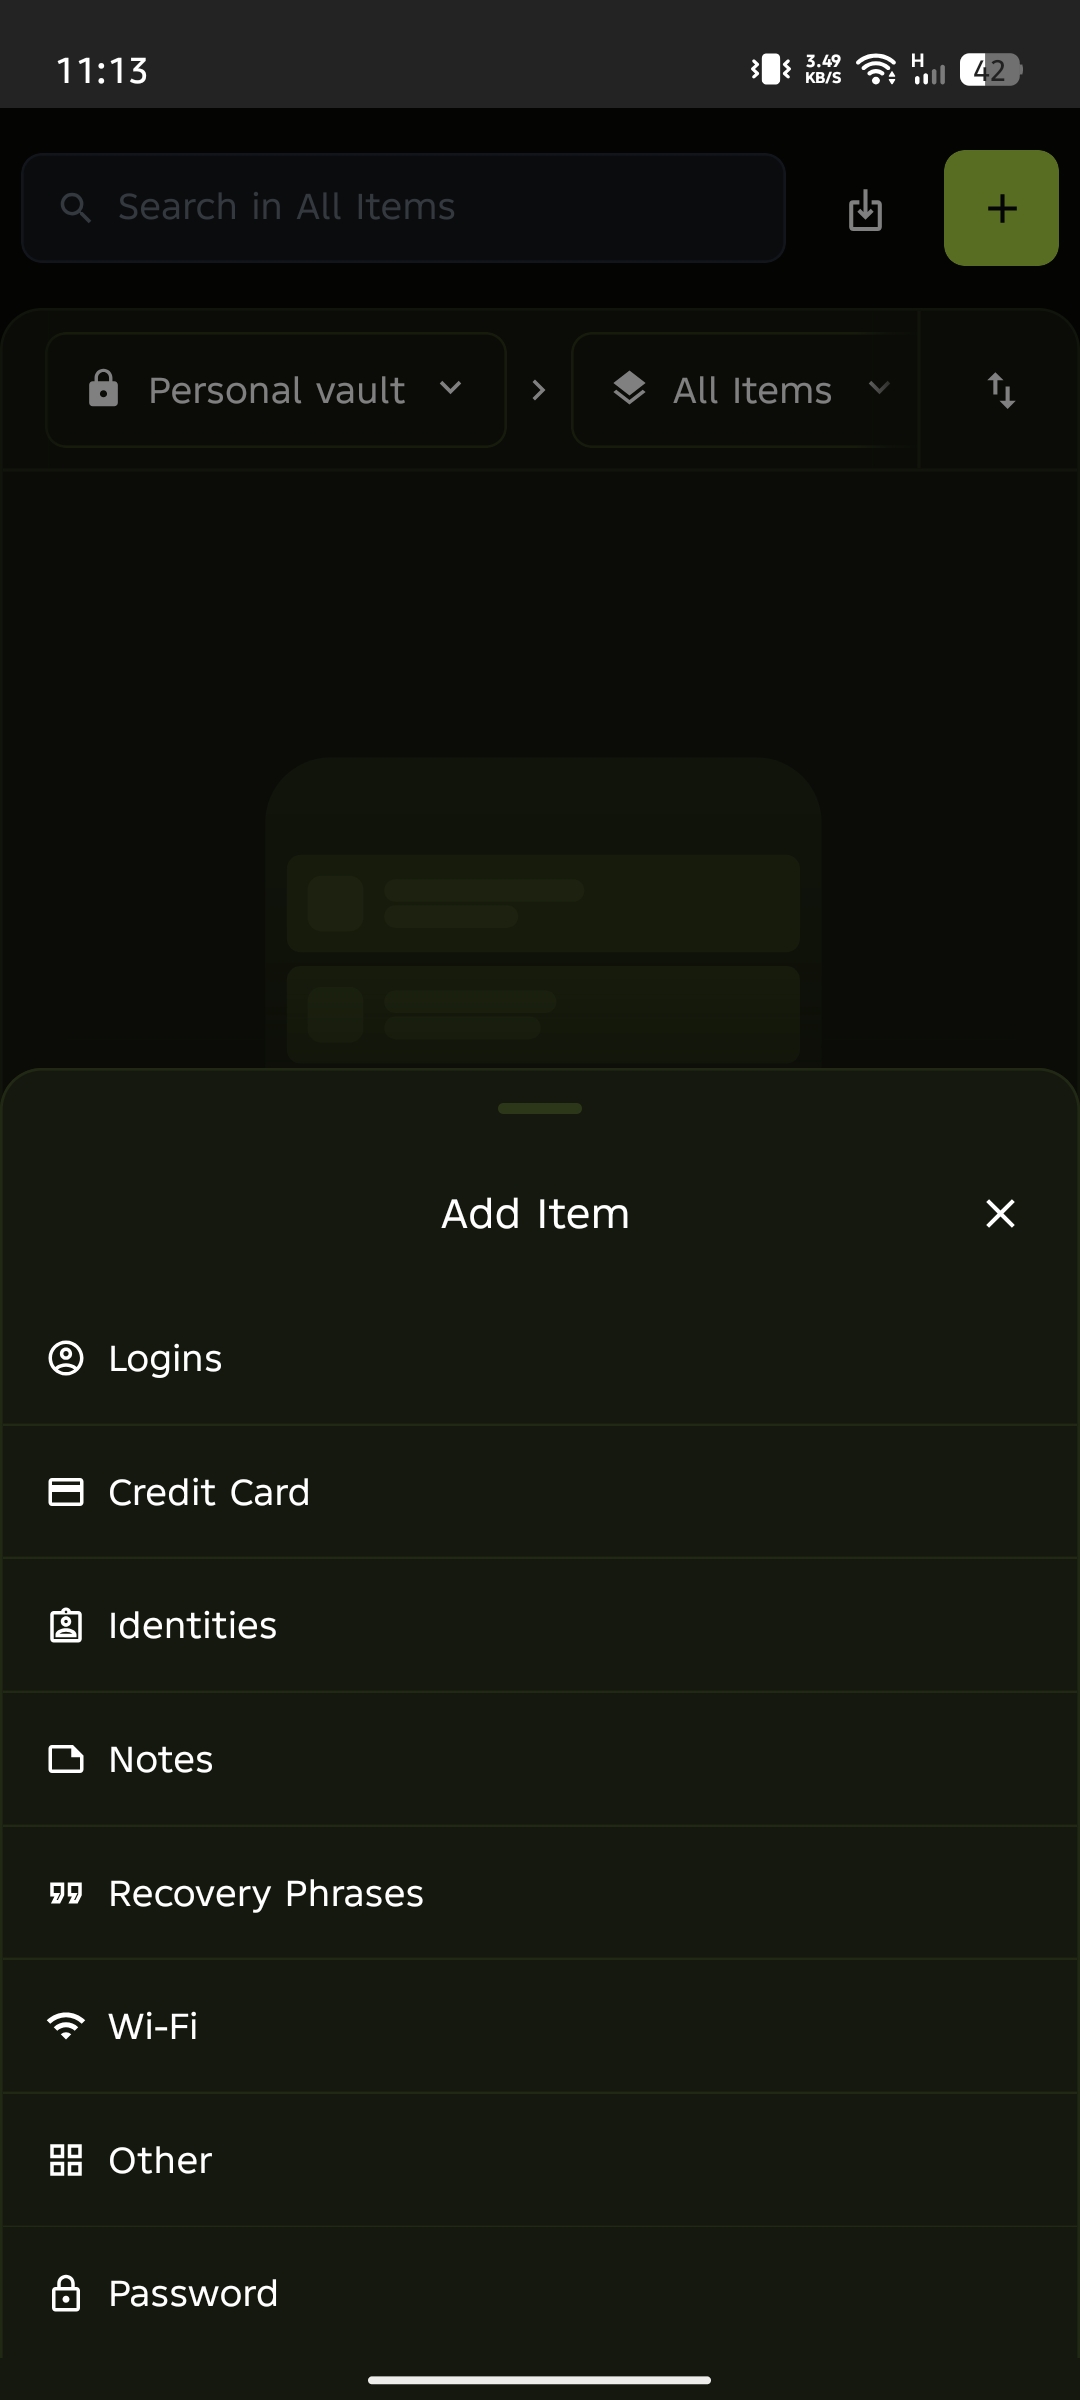
Select the item type
Select the item type you want to add. For this tutorial, we'll select Login. Notice the form updates to show fields specific to the item type you selected.
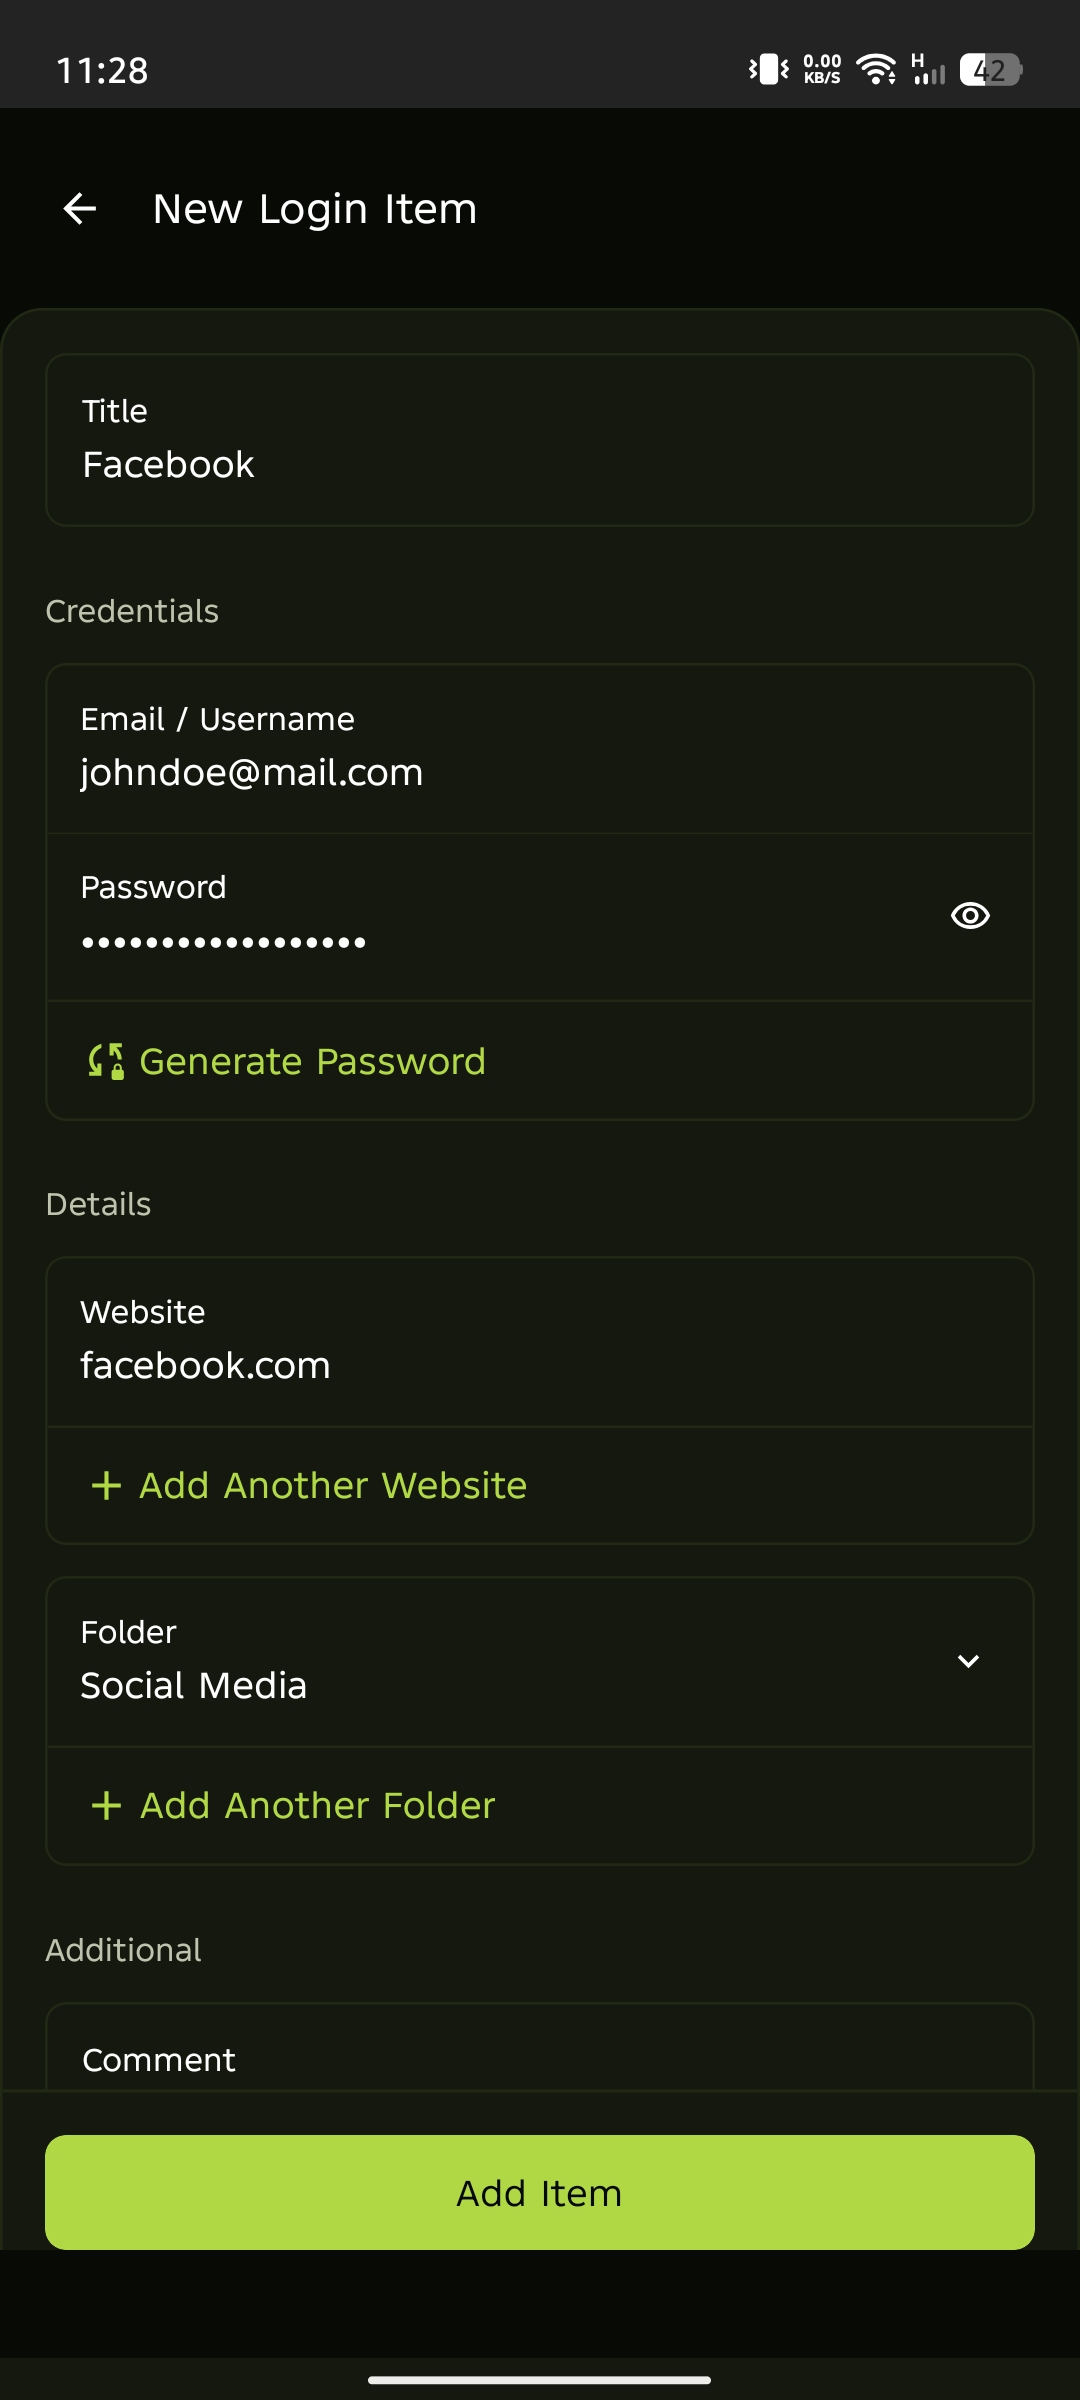
Enter the item details
Fill in the required details for the item type you selected.

Review and add your item
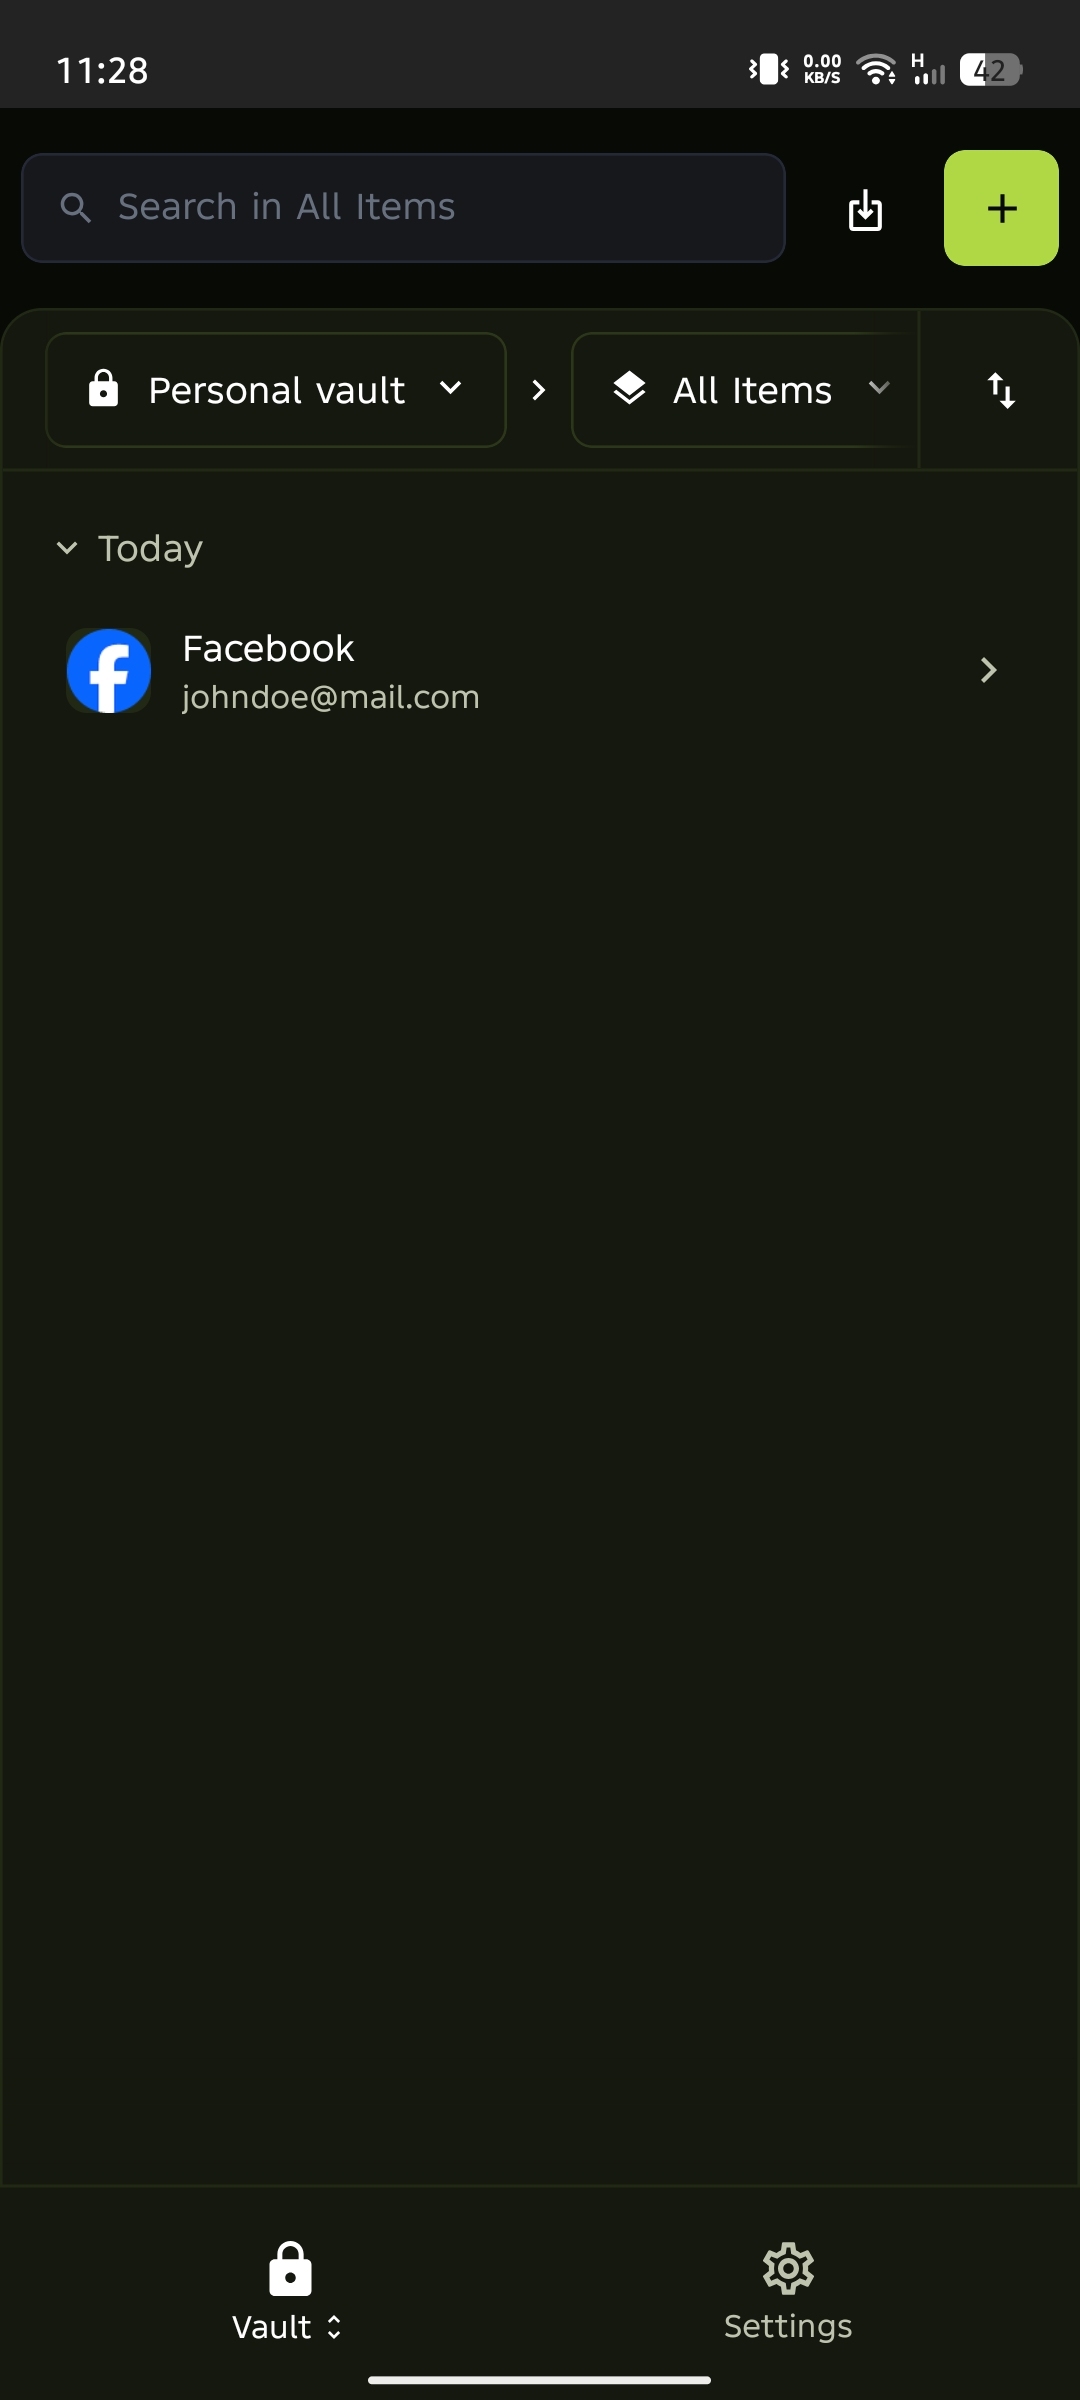
Review the item details, then tap Add Item. Notice that your new Login item now appears in your vault.
View your saved item
Tap the item in your vault to view and manage it.
You've added your first item to PearPass. Your vault now stores a Login item, ready to use whenever you need it.